
I recently shot a portrait session in early morning sunlight. The goal was simple: glowing skin, powerful highlights, strong shadows. But direct sunlight comes with its problems, and a bad edit can destroy an otherwise great frame. Here’s the editing workflow I use to make sure that doesn’t happen.
I’m currently working on my Lightroom CC review – one of the best photo editing software – so I will use this software to take you through each step of my editing process.
For those curious, I shot the session with my Fujifilm X-T3, plus a combination of the Viltrox 23mm F1.4 and the Fujifilm 35mm F2. I didn’t use extra equipment such as a flash gun, reflector or portable studio light — this was all done with available light only.

The Challenges of Shooting in Direct Sunlight
Direct sunlight is unforgiving. Before we get into the edit, here’s what you’re up against:
- Squinting: harsh light straight into your subject’s eyes makes relaxed, natural expressions harder to capture
- Hard shadows: under the eyes, nose and chin; they can cut a face in half if you’re not careful with your angle
- Blown highlights: skin, especially on the forehead and cheekbones, can clip fast and that’s near-impossible to recover in post
- Shiny skin: direct sun amplifies texture and oil on skin, giving an unflattering glossy look
- Orange skin tones: strong sunlight pushes colour temperature warm, which can make skin look oversaturated and unnatural
- Flat, reactive posing: subjects instinctively tense up in bright light, so you have to work harder to get them comfortable
None of these are deal-breakers, but ignore them and they’ll show up in your edit.
Quick Tips for Shooting in Direct Sunlight
A few small adjustments on set can save you a lot of time in post:
- Avoid backlighting: putting the sun directly behind your subject creates blown edges and a flat, underexposed face that’s hard to recover
- 45 degree angle: have your subject turn roughly 45 degrees away from the sun — enough to reduce squinting while keeping the light directional and interesting
- Go side-on: positioning your subject side-on to the sun creates a natural split light, with deep shadows falling across one side of the face for a more dramatic look
- Use shade as a transition: if you’re near a shaded area, the edge of the shade acts as a natural soft box — place your subject at the boundary for softer, more controlled light
- Shoot fast: direct sunlight moves quickly, especially in the early morning. Find your angle and work it before the light shifts
Small changes in positioning make a big difference. Get these right and your edit becomes a lot more straightforward.
The Portrait Editing Workflow
I’ll take you through each step of my editing process and finish with a before and after so you can clearly see the changes I made.

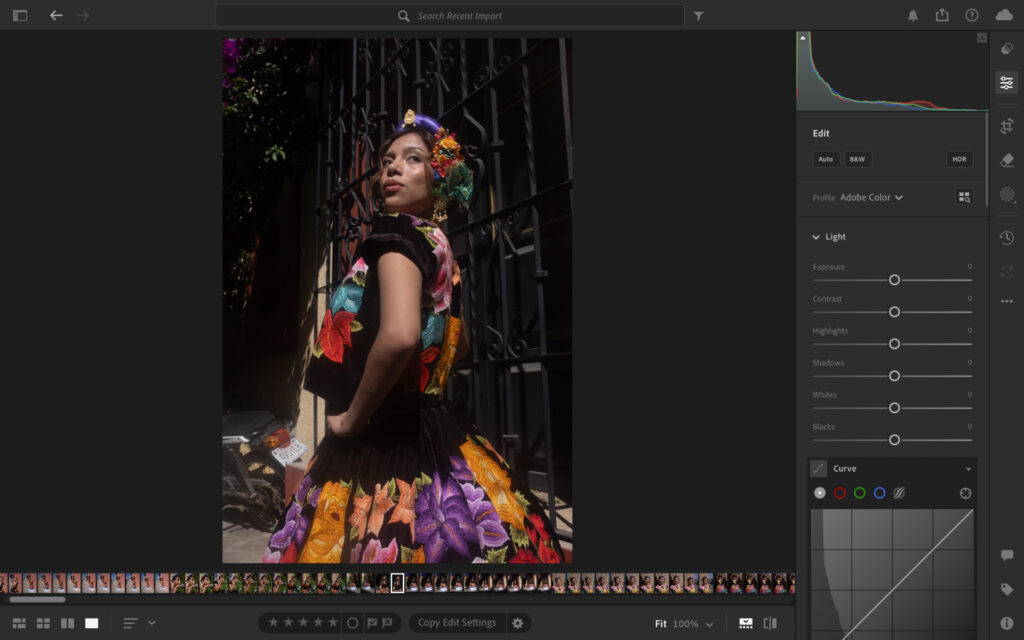
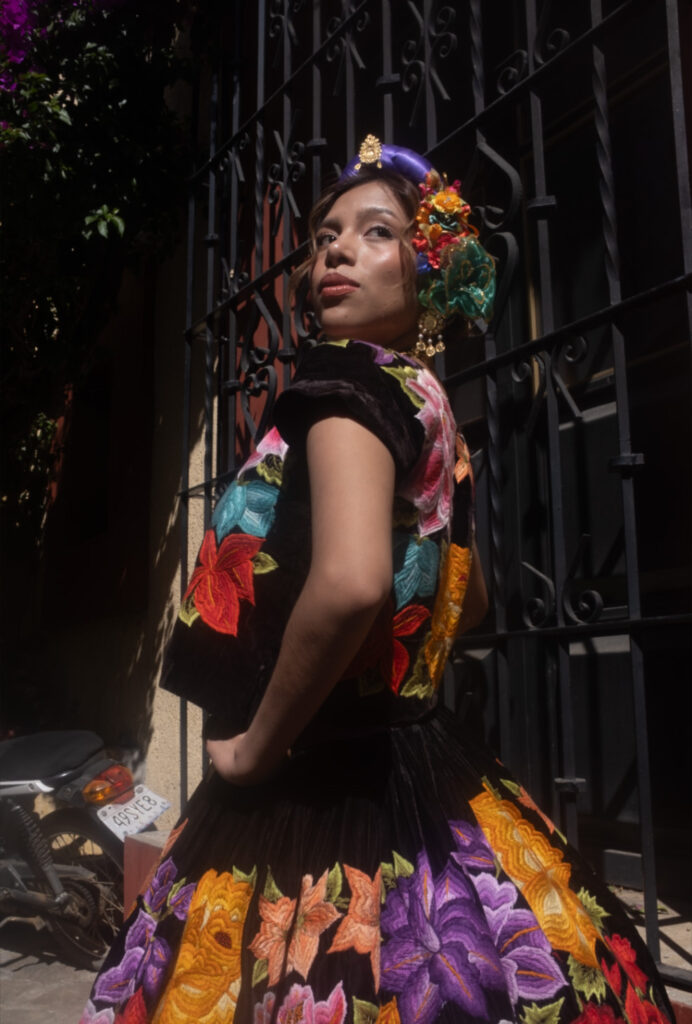
The original RAW files loaded in Lightroom CC.
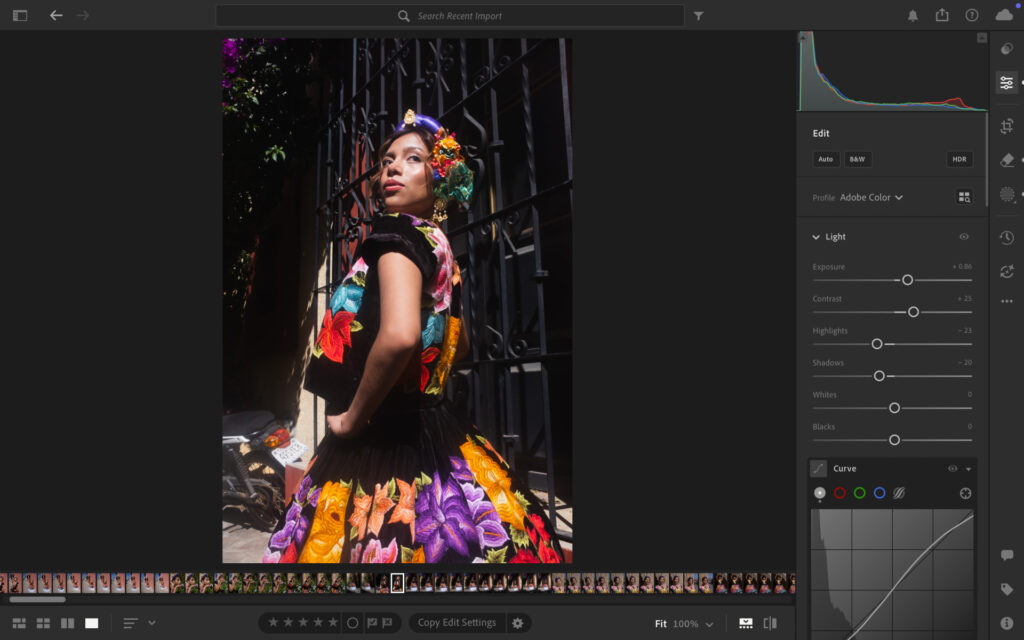
Exposure, Highlights and Shadows
When shooting I tend to expose for the shadows. This allows me to bring as much detail into my RAW files as possible when editing. As you can see from the unedited file, this can produce a flat, underexposed image.
My process to overcome this for this image was to:
- Increase the exposure to +86
- Increase contrast to +25
- Decrease shadows to -20
Because of the strong sunlight, increasing the exposure can result in the highlights on the face making the subject’s skin look shiny and sweaty. To counteract this I:
- Decreased highlights to -23
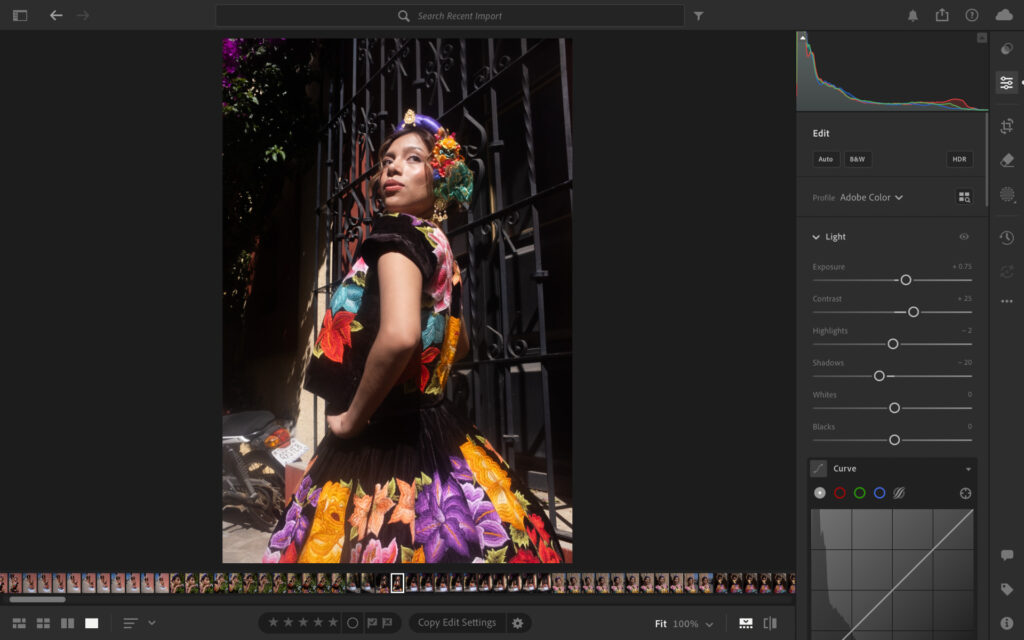
After the first phase of edits.
Color Temperature
Managing white balance is the first step to taking control of the colour output of the image. Because the subject has darker, warmer skin, the sunlight can make the image too warm and saturated, which isn’t flattering.
The changes are very subtle but for this image I:
- Shifted from Kelvin 5100 to Kelvin 4850
This gives a cooler image and also opens up the door to more versatility when we move into the colour grading section of the edit.
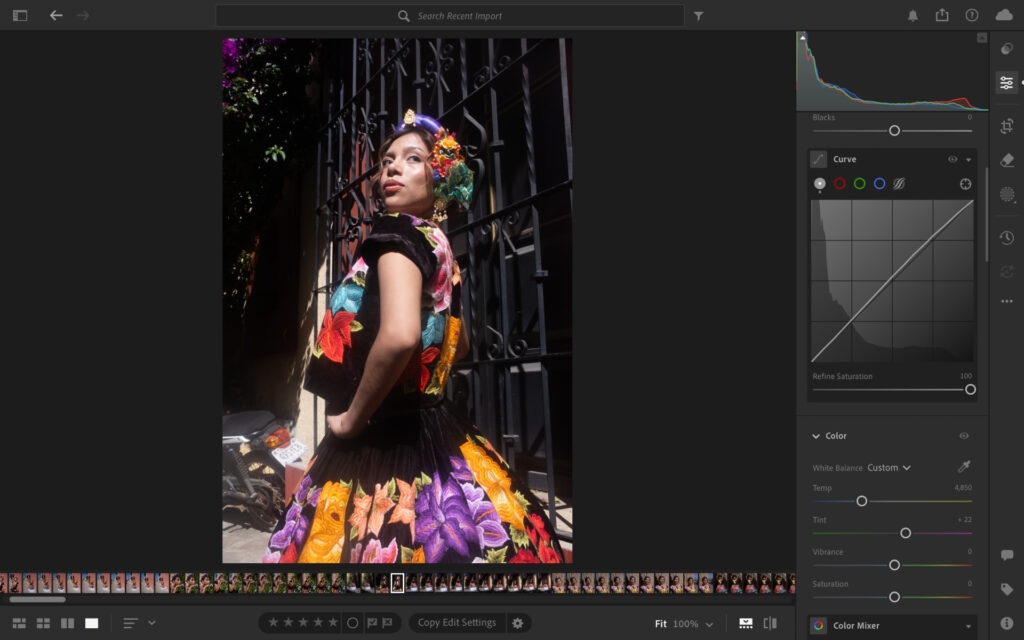
After minor adjustments to color temperature.
Color Mixer
The colour mixer is where I can get very granular about how colours show in the shot. This is where I want to emphasise the subject’s natural skin tones, without making the image look overly edited. For her face I’m targeting the red and orange sliders:
- Red: Luminance +13, Saturation -5
- Orange: Luminance -10, Saturation +5
By reducing the redness in the skin, it allows me to add more emphasis on the subject’s glowing skin, without making them look like they’ve applied layers of fake tan — a common mistake I see beginner editors make by pushing too much saturation into skin tones.

After subtle adjustments in the color panel.
Tonal Curve
As it stands, the image is a little hazy. There’s also not enough separation between the highlights and the darks of the frame, not allowing the subject to pop as much as she should. This is where I move into the tonal curve to control all aspects of the lights and shadows.
To do this I make a very subtle S shape with the tonal curve, and reduce the overall saturation to 86.
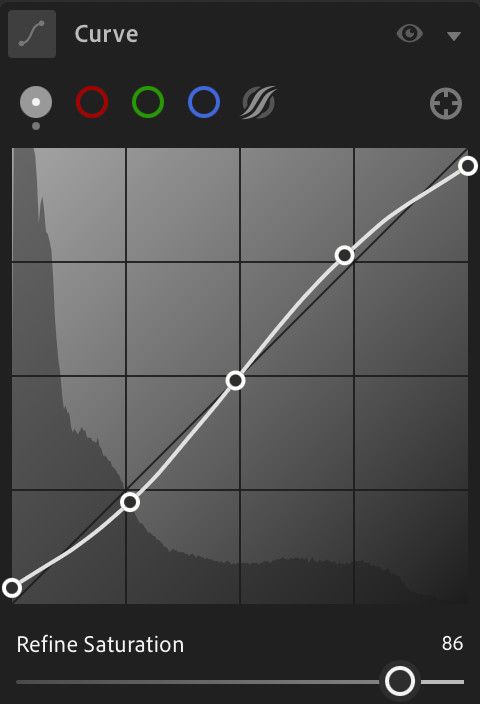
Tonal curve S shape.
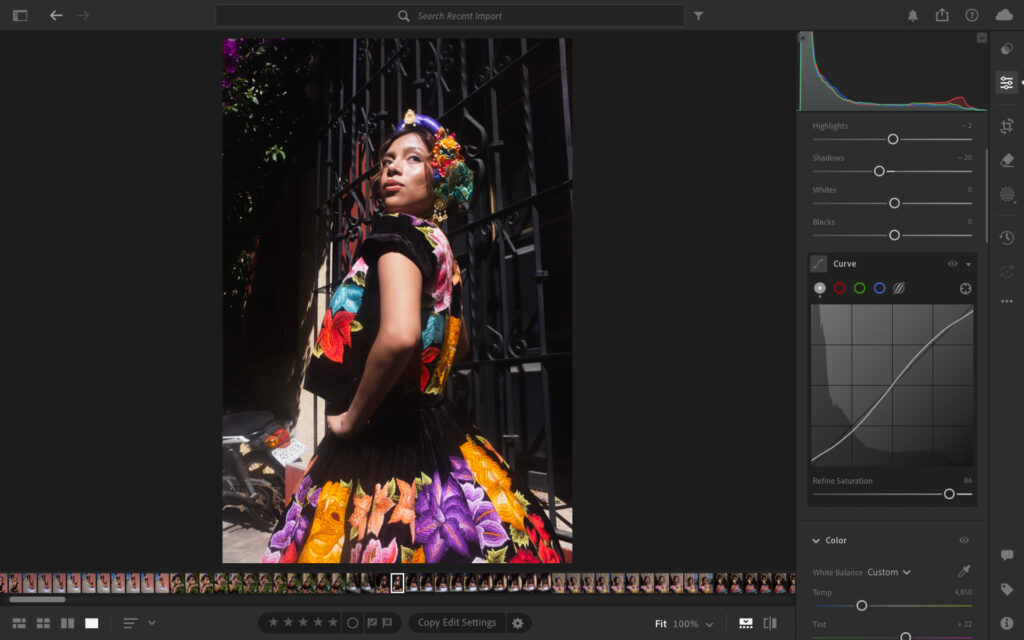
Impact of S curve.
Skin Texture and Smoothing
I’m a stickler for keeping skin as true to life as possible. It’s good for the subject’s confidence and also keeps the frame realistic. I do, however, make very subtle adjustments to get the image where it needs to be.
The first step is to remove distracting highlights. On this image there’s a highlight spot on the tip of the subject’s nose, which isn’t flattering. I quickly remove that using the healing tool.
Highlight on top of the nose.

Highlight removed.
Next I’ll decrease clarity and texture in the skin. Strong direct sunlight can really emphasise the powders from the subject’s make-up, which can be unflattering. To do this I used the brush tool over the face to target that specific area:
- Clarity: -28
- Texture: -15
Because I increased the luminance and decreased the saturation in the reds through the colour mixer, I need to target the lips to bring that pop back. After highlighting the lips with the brush tool, I:
- Increased saturation to +29
- Shifted hues slightly towards the reds
- Increased texture to +15
- Decreased clarity to -5
- Increased sharpness to +30
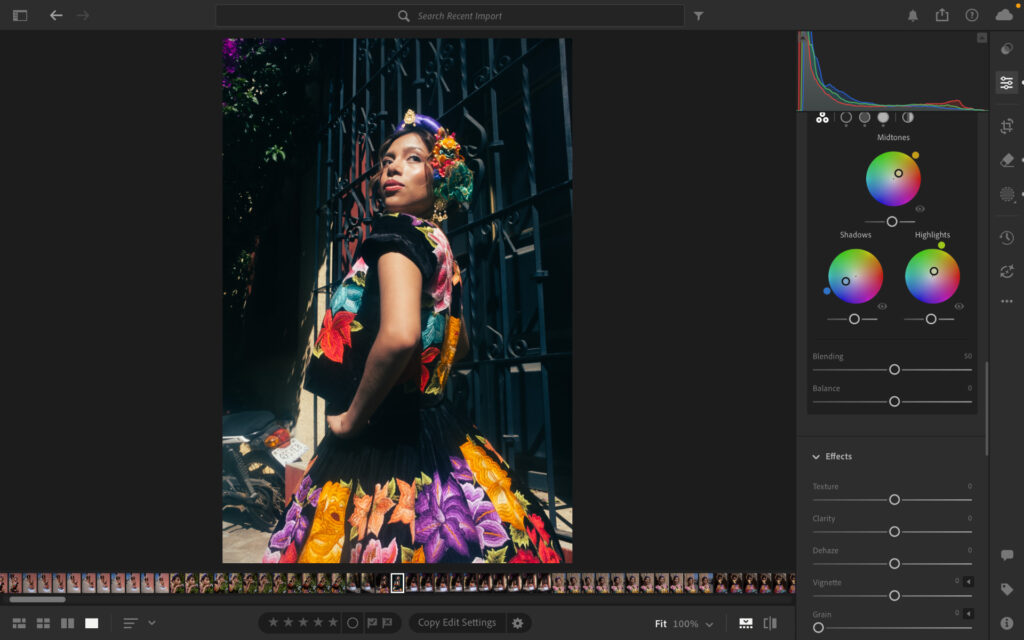
Color Grading
Colour grading is my favourite part of photo editing — it’s here where I take full control of the aesthetic of the portrait. For this type of shot, in this type of light, my objective is to create a deep, warmer feel with some coolness for balance.
To achieve this look I:
- Move the midtones towards a yellow/orange
- Move shadows towards blue/turquoise
- Move highlights towards green/yellow
This gives a slightly retro, rich feel without killing the warmth of the original.
Miscellaneous Edits
To get the image where it needs to be, I made some final edits to the frame:
- Crop out the purple flowers in the background to avoid distraction
- Use the AI removal tool to remove the motorbike in the background
- Turn vignette to -25 to give more power to the subject
- Reduce global clarity to -13 to provide a softer look
- Add some film grain because I love it
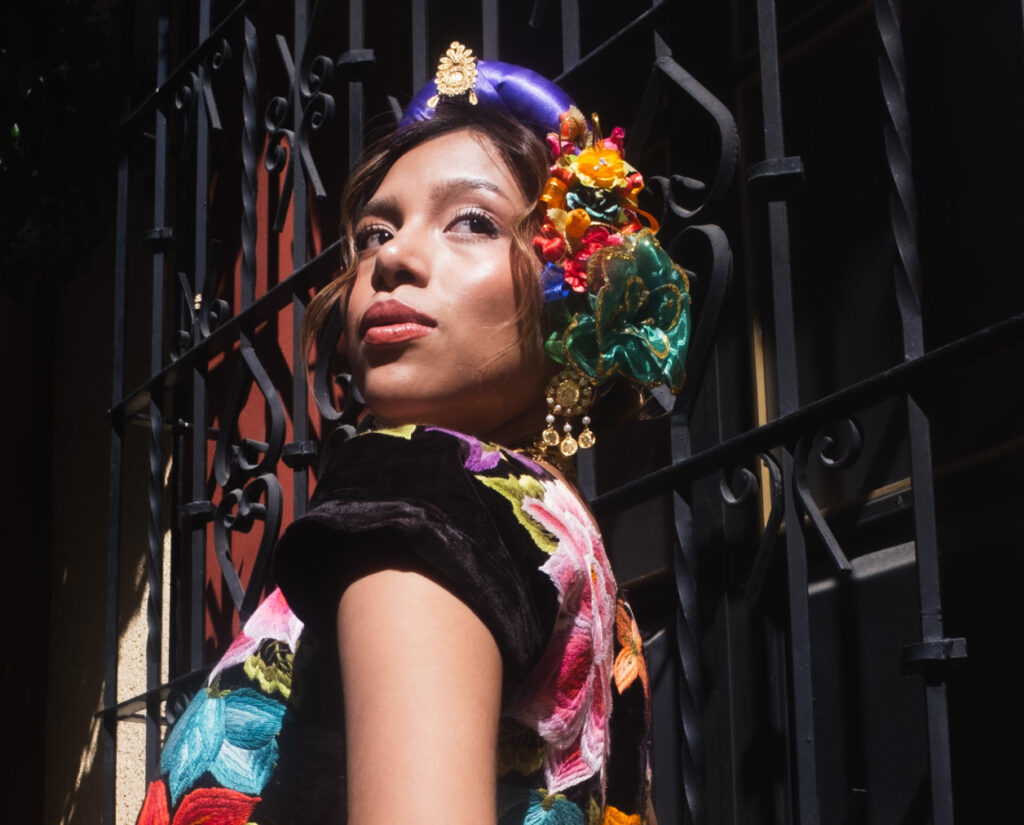
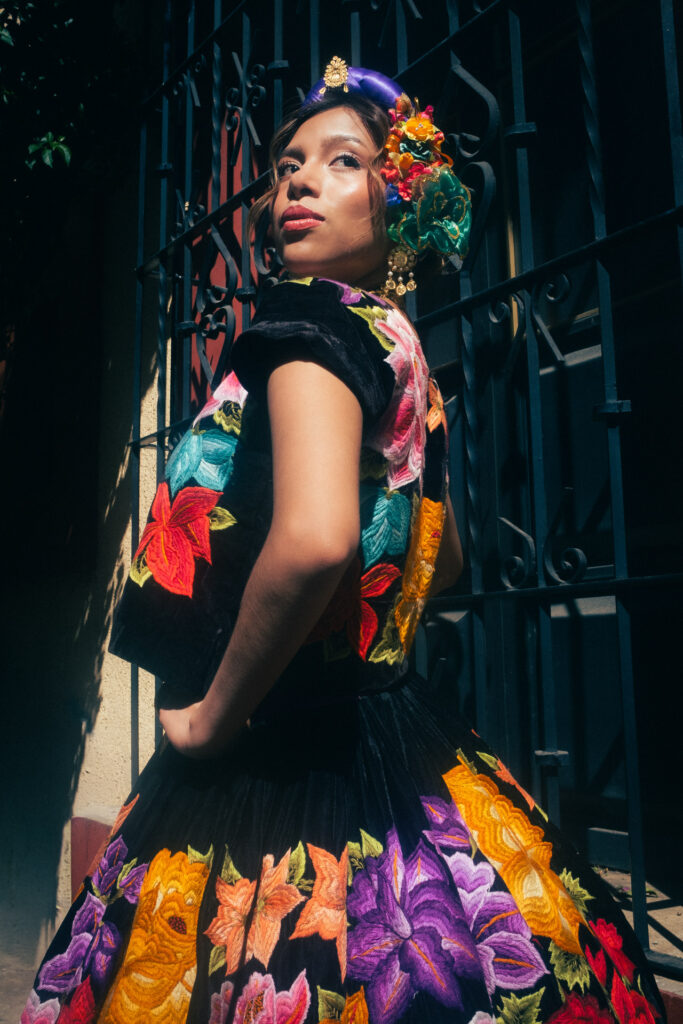
Here is the final before and after…
Before…
After…
Signing Off
Direct sunlight isn’t something to run from, it’s something to understand. Yes, it’s harsh, and yes, it can expose every weakness in your technique. But with the right approach on set and a solid editing workflow, it produces portraits with a quality that’s hard to replicate in softer light. So get outside, find the sun, and shoot. The edit is where you take control.
More reading: The Best Photo Editing Software for Beginners in 2026