As a long time Macbook user and general Apple lover, I’m always looking to incorporate its software into my workflow. When Apple acquired Photomator in 2025, I became curious to see if it could become my main photo editing software. I’ve been testing it for some time now and in this Photomator review, I’m sharing if it’s worth switching to from the competition.
Having tested most of the best photo editing software for several years, I have to say many of their tools cross over. But, I can also say that once you use them for an extended period, you begin to see they’re not all equal, and Photomator is no different to that take.
Through this review, I’ll be sharing how it performed day to day, what features are actually useful and if Apple has a photo editor that’s actually worth the asking price in 2026.
Video
How I Tested Photomator (Real-World Use)

I tested Photomator on a five-year-old MacBook Air (M1), which I use as a realistic benchmark for performance on older hardware. Newer Apple silicon machines should run it even faster. I paid for the app myself and tested it using a mix of Fujifilm X-T3 RAW files and images shot on my iPhone 13, covering both camera and smartphone workflow.
Pros & Cons: Photomator
Pros
- Clean, beginner-friendly interface with excellent usability
- Strong RAW editing with precise, natural-looking adjustments
- Accurate and reliable object removal tool
- Affordable pricing with a lifetime purchase option
Cons
- No batch exporting, limiting professional workflows
- Occasional stability issues with Fujifilm RAW files on older Macs
- Masking tools are more limited than Lightroom or Luminar Neo
- Apple Photos integration can feel restrictive
Photomator: Core Editing Tools
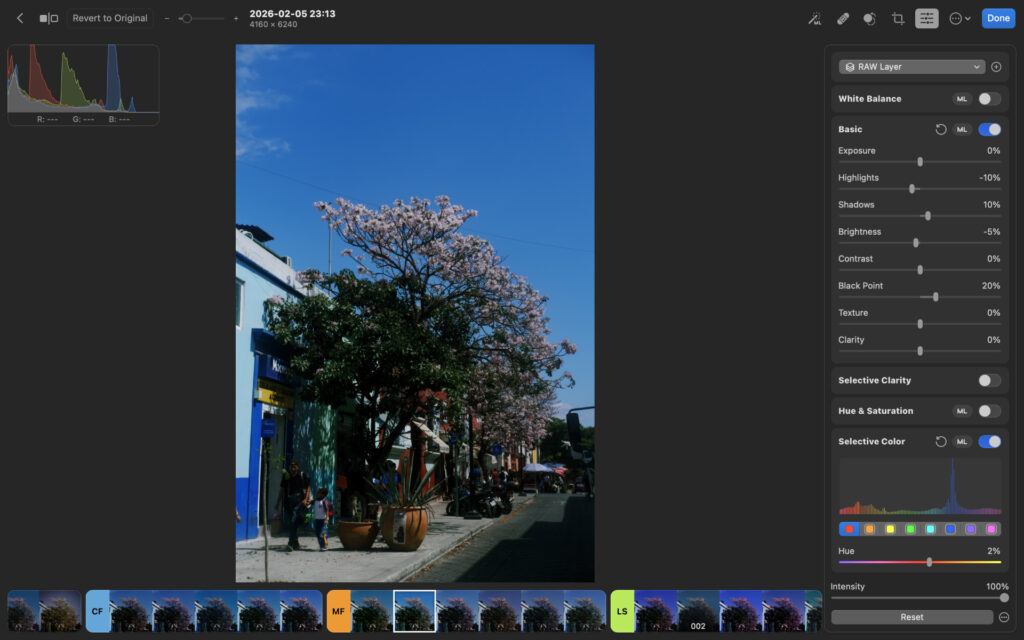
Photomator is far more capable than I expected. It supports full RAW editing, reliable masking, and a strong library of presets and LUTs, making it a clear step up from Apple’s basic Photos app in both control and output quality.
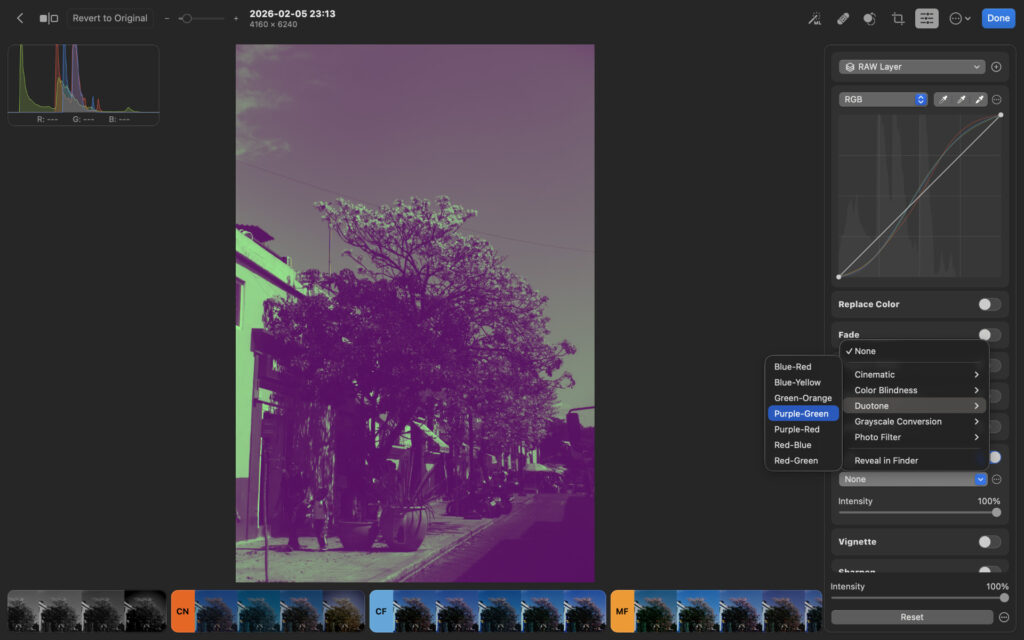
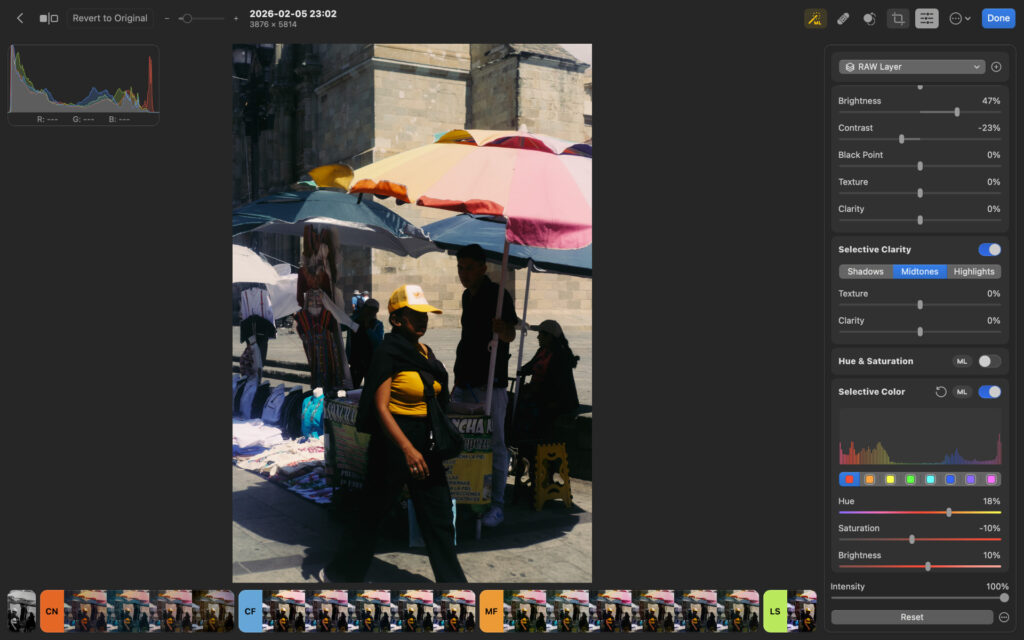
Color grading is particularly well done, with dedicated tools for refining highlights, midtones, and shadows, alongside curves and a solid HSL editor for more deliberate color work.
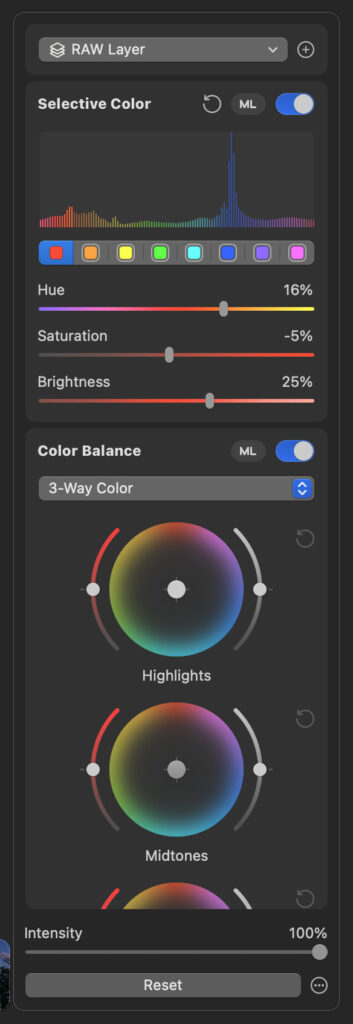
There are also some welcome creative touches, like adjustable film grain and selective clarity that lets you target specific tonal ranges rather than applying effects globally.
If you’re coming from Lightroom, much of this will feel familiar, though Photomator doesn’t lean as heavily into advanced AI features like generative tools or automated culling. Similar to Luminar Neo’s Color Transfer tool you can upload a separate image and Photomator will apply color, tones and exposure to the current image you’re editing.
Photomator: AI & Smart Features
AI editing is everywhere right now, and Photomator takes a fairly restrained approach. The main AI-powered tool is object removal, which works by brushing over distractions and letting the software handle the cleanup. In real-world use, it’s accurate enough for everyday edits.

Before using the removal, people were visible in the background of the frame.

After. Photomator did a good job and kept the image looking natural
There’s also an auto enhance tool that analyzes RAW files and applies global adjustments, though I tend to use it more as a starting point than a final edit.

Before applying the auto enhance tool.

After applying auto enhance.
That’s largely where Photomator’s AI story ends. If you’re looking for heavier AI features like sky replacement, selective denoise, or automated culling, it’s worth looking at my roundup of the best AI photo editors in 2026 instead.
Presets, LUTs & Workflow Speed
Photomator’s presets are genuinely useful for speeding up edits. They’re organized into around 10 clear categories, each with a solid range of options spanning black and white, vintage, and cinematic styles. The variety is strong enough that I regularly find a preset that works as a clean starting point, then refine it with a few manual adjustments or export straight away if time is tight.
I edited this frame with a preset. I made no manual adjustments.
The LUTs are less convincing. Outside of the cinematic options, many feel too heavy-handed to work as either a final look or a reliable base for further editing. That said, there’s a decent selection overall, and tastes vary, so some users will still find LUTs that fit their style.
I see little value in using LUTs as the foundation of your edit.
Photomator: My Real-World Experience
From a usability standpoint, I’m sold on Photomator’s design. Tools are easy to find, terminology is clear, and being able to hide features I don’t use noticeably improves workflow. Even beginners should feel comfortable navigating the interface within minutes.
Photomator’s interface is clean, minimal and has a logical layout.
That said, I did run into a couple of issues. The right-hand editing panel would occasionally jump back to the top while scrolling, which became frustrating during longer edits.
Despite being a standalone app, importing RAW files from my Fujifilm X-T3 automatically added them to my Apple Photos library and synced them to my iPhone, something I’d prefer to control manually.

Imports showing up in Photomator and the Photos app.
The removal tool impressed me with consistently accurate results and handled background distractions cleanly. Global adjustments feel precise and well-judged too — exposure, contrast and color respond naturally without feeling heavy-handed.
My main gripe is with masking. The gradient tool only works from the top downward, limiting flexibility compared to Lightroom or Luminar Neo, which handle this far more intuitively.
Minor bugs aside, I enjoyed using Photomator and found it genuinely capable. Around 95% of the tools worked exactly as I expected, and it reliably added polish without getting in the way of the edit.
Photomator: Performance & Stability
I’m testing Photomator on a five-year-old MacBook Air, which handles other photo editors without issue and serves as my baseline for performance comparisons. Overall, Photomator performs well, with edits applying in real time and no noticeable delay. However, it isn’t flawless.
One notable downside is the lack of batch exporting, it simply doesn’t exist. Edits automatically sync to the Photos app, or you can manually export single files to your MacBook or an external drive. This limitation significantly reduces its suitability for professional or high-volume workflows, like wedding photographers for example.
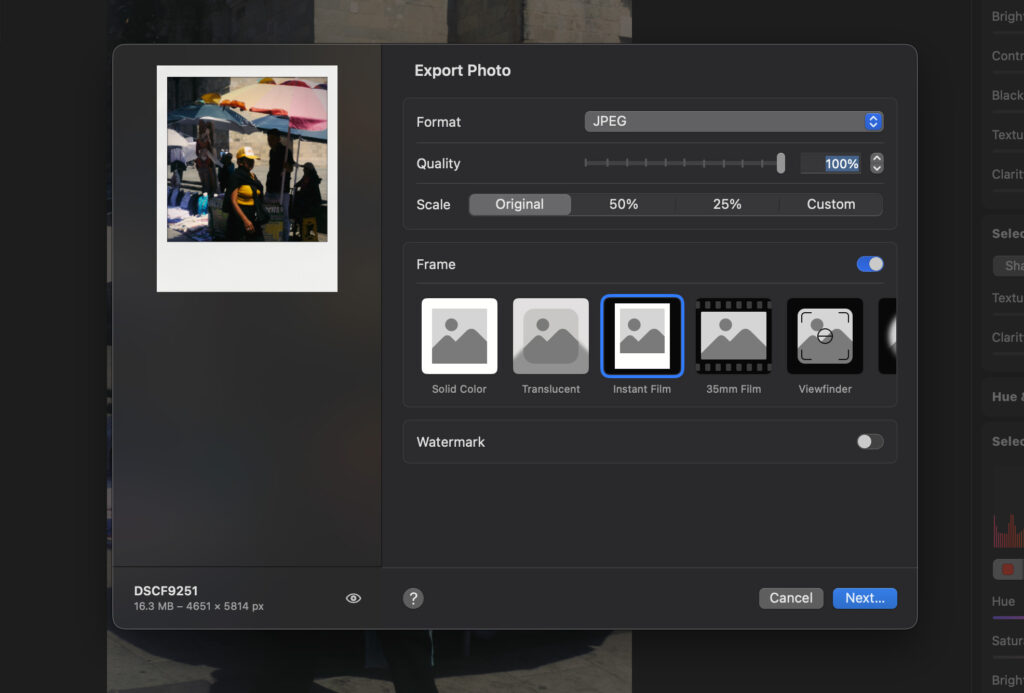
Although it lacks batch importing, some cool tools are available for framing and watermarks.
While I experienced no bugs when editing images from my iPhone 13, Fujifilm RAW files were less stable. Occasionally, the app would crash or fail to display applied adjustments until I restarted it. This happened around 5% of the time, which is more frequent than I’ve encountered with competing editors on the same machine.
Photomator: Pricing & Value
Photomator is available via the App store and there are three payment options. One perk is that it’s much cheaper than the likes of Lightroom and Capture One, and unlike the former, it also offers a lifetime option, meaning pay once and own forever.
- Yearly – $34.99
- Monthly – $7.99
- Lifetime – $119.99
Regardless of which you choose, you’re able to use Photomator on Macbook, iPhone and iPad on a single licence.
Who Photomator Is Best For?
I recommend Photomator for photography enthusiasts who want professional-looking results without being overwhelmed by complex tools. It strikes a good balance between power and simplicity, making it equally well suited to beginners who want to improve their editing skills over time.
While professionals may be tempted by Photomator’s feature set and pricing, it’s not quite there yet. Limitations in workflow and performance mean it doesn’t compete directly with Lightroom or Capture One for demanding, professional use cases.
Related: Best Lightroom Alternatives
Photomator vs Alternatives
Because I position Photomator as an enthusiast-level editor, it makes most sense to compare it with Luminar Neo. Both offer a clean, modern interface and similar performance on Apple hardware. In my testing, Luminar Neo was more stable overall and its AI-powered tools allowed me to push edits further creatively.
Related: Luminar Neo vs Photomator: After Testing Both, My Pick Is Clear
Photomator’s strength is simplicity. There’s very little fluff, and the tools it includes are genuinely useful. Luminar Neo’s lifetime plan costs slightly more, but in return you get a deeper, more refined editor with stronger creative tools and more room to grow.
Read my full Luminar Neo review to see how they compare in real-world use.
Photomator: Final Verdict
I recommend Photomator if you’re primarily a smartphone photographer and already invested in Apple’s ecosystem. Those using newer Macs will likely experience fewer issues when editing RAW files from a dedicated camera.
Overall, it offers all the tools needed to edit images to a near-professional standard, wrapped in a polished and approachable interface.
The foundation is clearly there to compete with top-level photo editors, but a few refinements are still needed before it can fully replace them. Photomator offers a seven-day free trial, so you can test it yourself and see if it fits your workflow.
Photomator is available on the App Store.
More reading: The Best Photo Editing Software for Beginners.