
As a portrait photographer, I’m always on the lookout for photo editors dedicated to portraiture. Aperty, a software from Skylum, – the company behind one of the best photo editing software, Luminar Neo, claims to be one of the best. To see if that’s true, I decided to edit a recent portrait shoot exclusively in the app.
There are plenty of useful features, but also some I wouldn’t use in my normal editing workflow. I’ll cover everything you need to know, how well it functions and how much you can expect to pay.
How I Tested Aperty (Real-World Use)
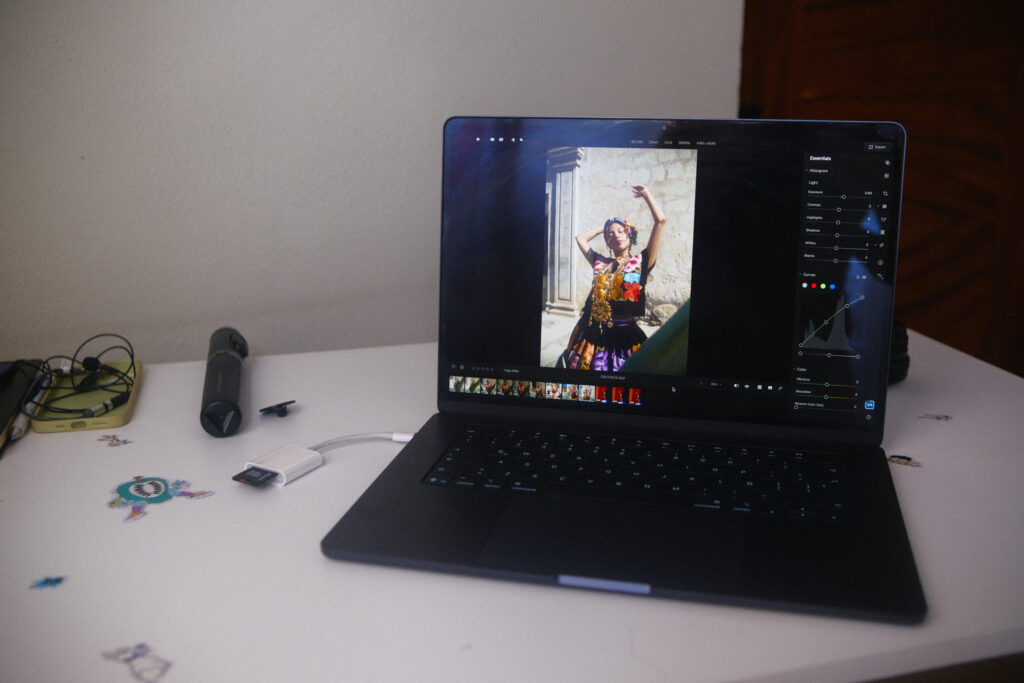
I tested Aperty on my MacBook M5 Air (base model), which is the latest version, and used the software for a few weeks to get properly familiar with it. All images were shot using my Fujifilm X-T3, a Viltrox 23mm F1.4 and a Fujifilm 35mm F2.
Aperty is available for macOS and Windows and also works as a plugin for Lightroom and Photoshop.
Pros & Cons:
Below are some quick glance pros and cons I found when using Aperty.
Pros
- Quick, responsive software
- Accurate, time saving masking tools
- Navigation is simple and easy to learn
- RAW file support
- Strong file management
- Affordable perpetual licence
Cons
- Presets are not great for portraits
- No color grading tools
- Some questionable AI features
Who Is Aperty Best For
If you’re a professional portrait photographer in the editorial niche, you’re best looking at software like Capture One and Lightroom Classic. You’ll need color grading and more advanced tools for skin tones and refined adjustments.
However, if you’re a new portrait photographer, or one who doesn’t require a professional feature set, Aperty can be a great tool to start your editing journey. Future versions may grow with your needs, or you can switch to a more professional option when you’re ready.
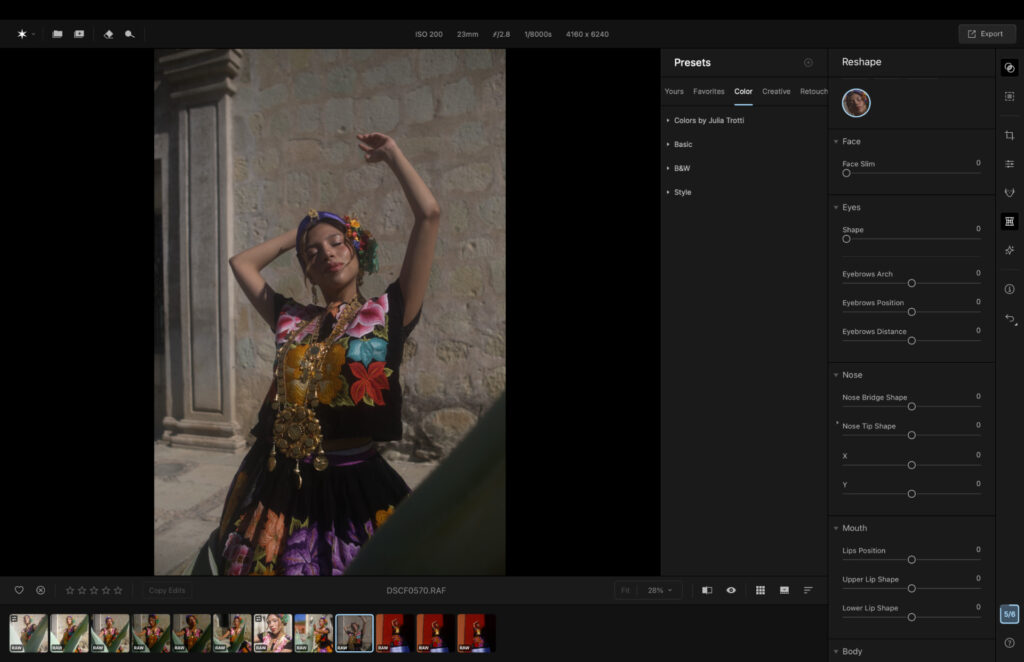
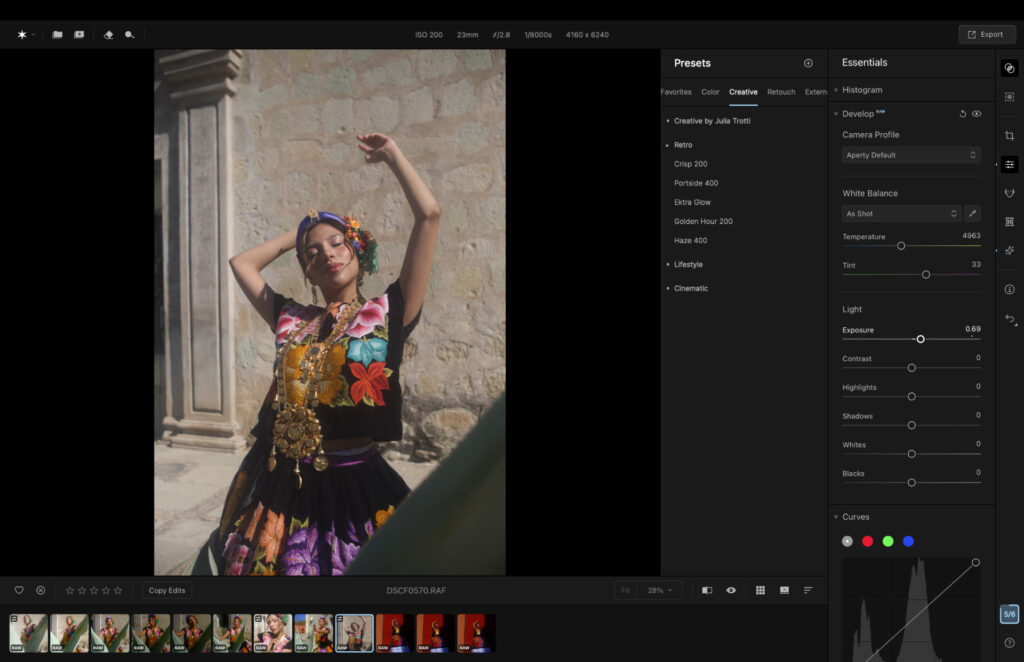
Aperty: Core Editing Tools
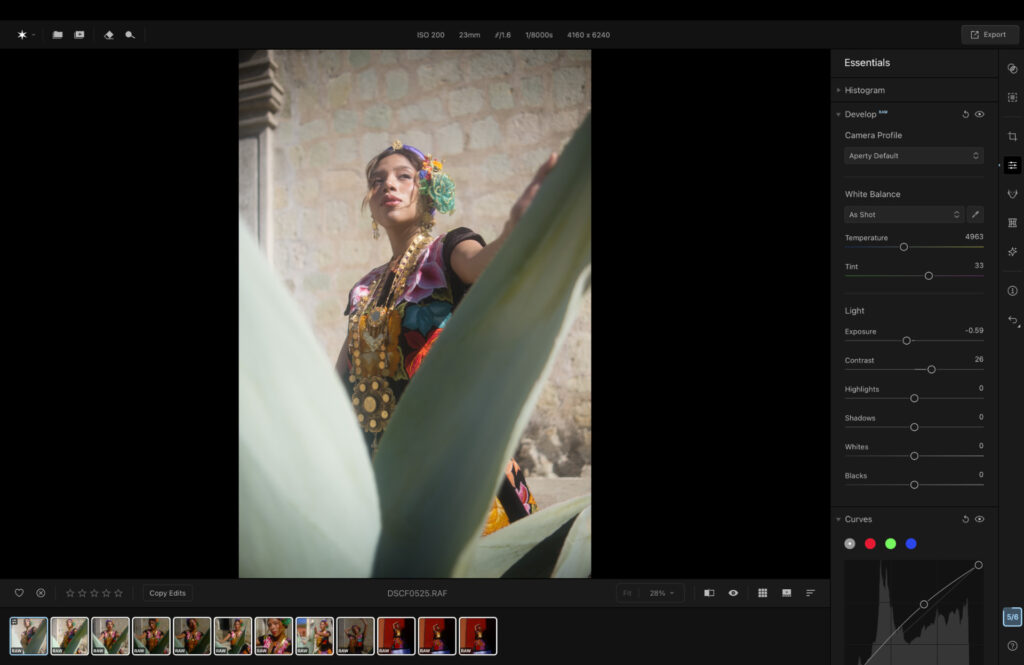
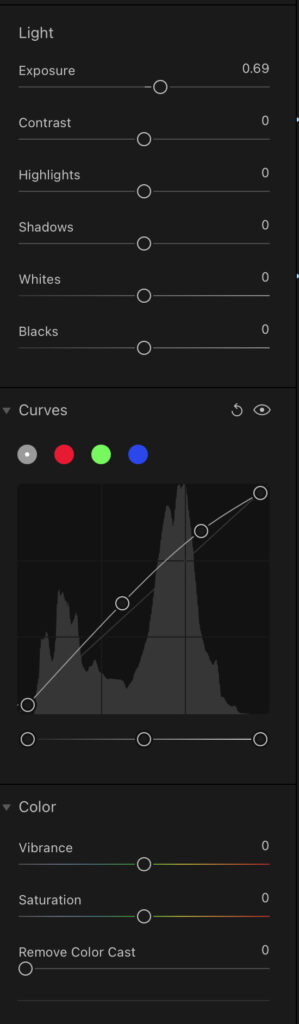
Aperty has most of the core editing features you’d expect. You can edit RAW files, which is a major plus for portrait photographers working with natural light. Exposure and contrast adjustments are all present, along with a curve tool, HSL slider, and white balance and tint sliders.
A denoise tool is also available, useful if you’re shooting in low light. Where some alternatives produce cartoon-like results, Aperty keeps your image looking realistic while smoothing out the noise.
Section of core editing panel.
Aperty: AI & Smart Features
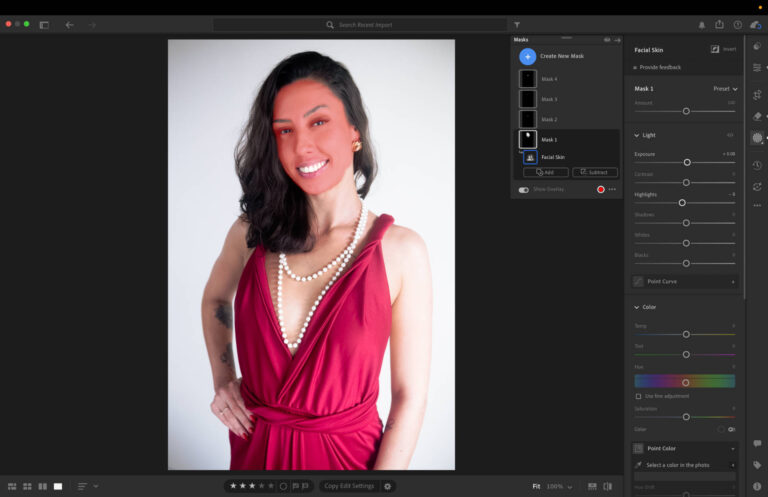
There are an abundance of AI features baked into Aperty. Through AI you can take care of tedious retouching tasks by simply moving a slider. The skin blemish tool, for example, removes small blemishes without the need to manually select each one, with accurate results.
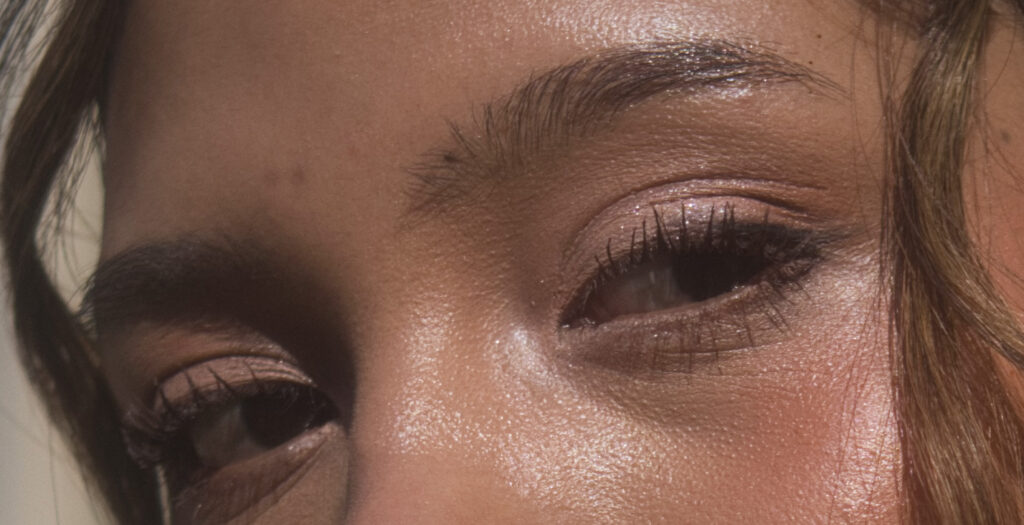
Before using skin blemish tool.
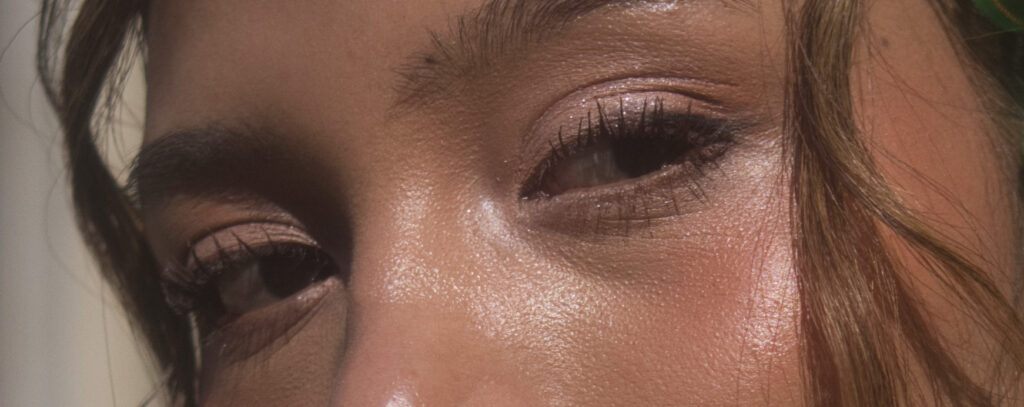
Blemishes above the eyebrows are gone.
Also available are a skin softening slider, lip enhancements and eye enhancement tools, all controlled by a slider rather than a masking brush. Masking adjustments can also be applied to your full catalog, again with accurate results.

Before using lip ehancer.
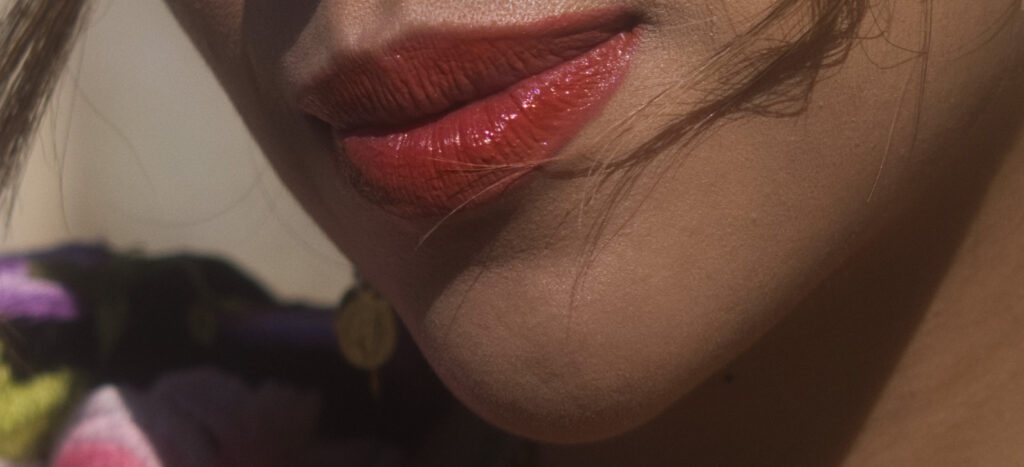
Lips are not fuller and more vibrant.
Some features I don’t care for are the face and body thinning tools, and the eyebrow, lip and eye adjustment tool, which lets you reposition all three. It’s not my style, and I prefer to keep subjects as authentic as possible. Each to their own.
There’s an object removal tool that works in the same fashion as other software. Use the brush to draw over what you wish to remove and Aperty will do the rest. Results were mixed, either being very good or not so great.
Related: I Edited My Image Only Using AI Tools
Aperty: Presets & LUTs
Aperty offers around 40 presets ranging from retro looks to black and white through to cinematic vibes. I wasn’t a big fan, as many added too much contrast, sharpening and clarity that isn’t really synonymous with classic portrait editing. That said, they can serve as a good foundation to tweak and build on, and you can save your own edits as presets to apply in a single click for future sessions.
RAW file before applying preset.
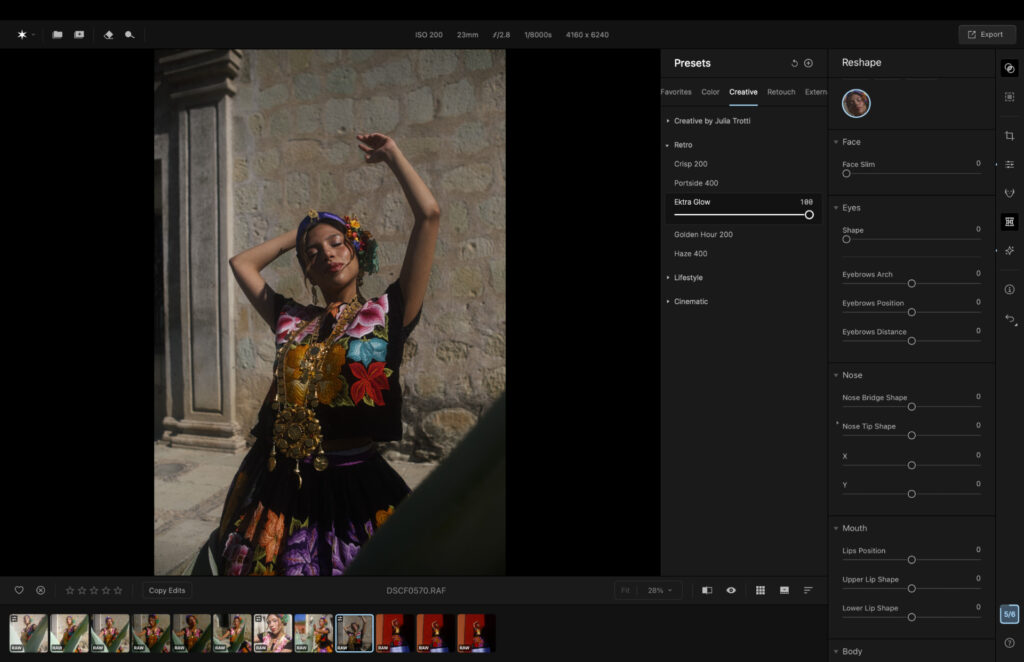
After applying preset Ektra glow.
The LUTs were a better starting point in my opinion, and I actually prefer them over those available in Luminar Neo, as Aperty’s are less overpowering. Beijing was my favorite, offering a soft, pastel look. There are 10 to choose from in total, with more available to purchase through Skylum Marketplace.
After apply Beijing LUT.
Aperty: My Real-World Experience
On the ease-of-use scale, Aperty sits closer to easy than hard. The software clearly labels its tools and jumping from one feature to the next doesn’t require a visit to the tutorials. The slider-based tools also open the door to more advanced edits that were previously reserved for experts in software like Photoshop.
When making adjustments, such as with the skin smoother and eye enhancement, changes were subtle but effective. My subject never looked cartoonish or AI-generated.
File management is basic yet useful. I could star images from 1 to 5 or tap the heart icon for a like, then sort by rating. One notable omission is a search function. Smart search is available on Luminar Neo and Lightroom, and hopefully Aperty adds something similar in the future.
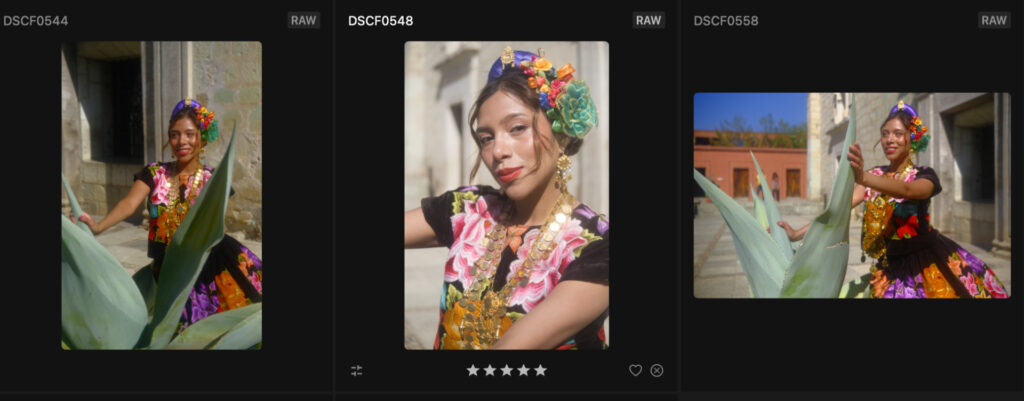
File management example.
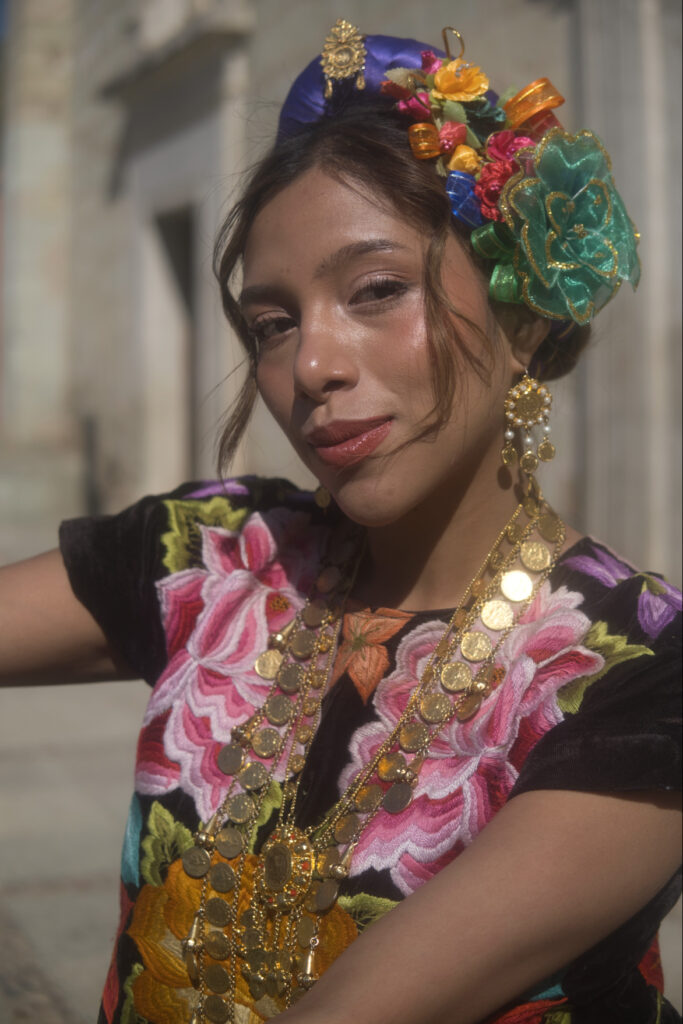
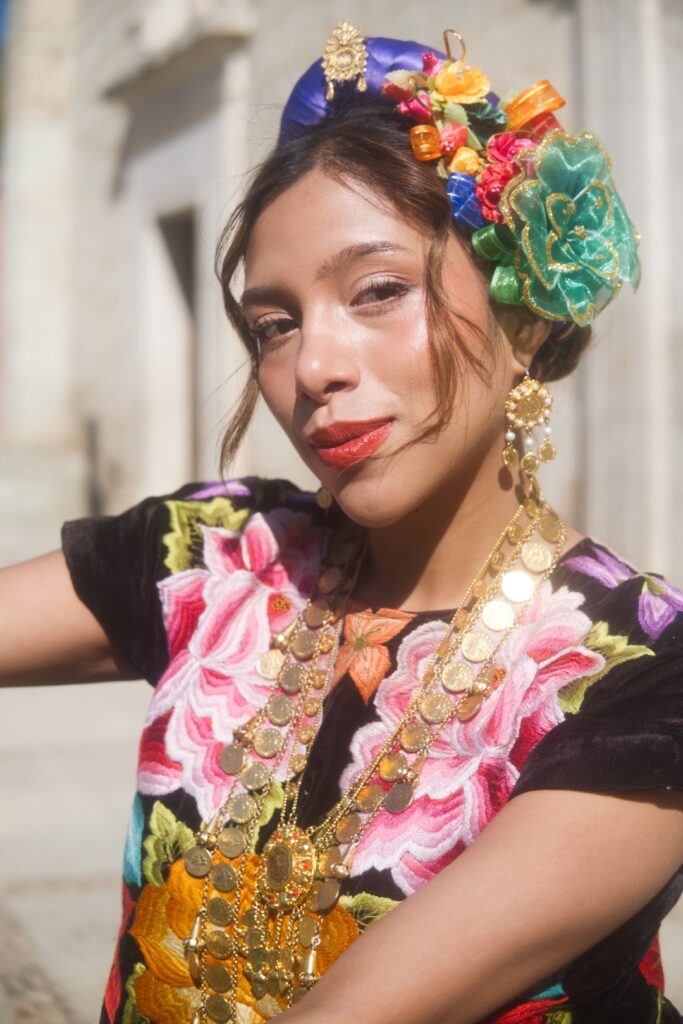
Here’s a before and after of one of my edits to help you see what you can do with the app.
Before…
After…
Aperty: Performance & Stability
Aperty performed very well on my M5 Air, which has 16GB of RAM and 10-core CPU and 10-core GPU. Some actions weren’t instant, with certain masking tools taking a handful of seconds to apply. Bulk copying and pasting edits across a catalog was fast, though slightly slower than performing the same action in Lightroom or Capture One.
The software never lagged, and I experienced no unexpected shutdowns during demanding tasks. It actually runs slightly faster than Luminar Neo, so if you’re purely a portrait photographer, Aperty could be the better choice over Skylum’s flagship editor.
It’s also worth noting that Aperty is not cloud-based. You can use it locally and edit without an internet connection.
Aperty: Pricing & Value
Skylum offers three pricing options: monthly, yearly and Lifetime, the latter letting you pay once and own the software forever.
- Monthly: $24.99 (first month $14.99)
- Yearly: $219 (first year $169)
- Lifetime: $259
The best value is clearly the lifetime plan, which also includes continuous software updates, rare for a one-time purchase. There’s a 14-day money-back guarantee, so you can try it risk free.
Aperty vs Alternatives
Capture One is the main alternative worth comparing. Recent updates introduced the ability to apply masks to portraits through sliders, similar to Aperty, though Capture One’s adjustments are far more subtle. Personally I prefer Aperty, but other photographers may disagree.
Pricing is broadly similar, though Capture One offers more professional tools, including real-time tethering and world-class color correction and grading. For pros, Capture One is the stronger choice. For everyone else, Aperty does the job well.
Aperty: Final Verdict
The whole point of a tool like Aperty is to save time rather than spend it on tedious tasks. My workflow was noticeably quicker, largely thanks to the responsive sliders that help heal skin, brighten eyes and make subjects pop.
Aperty is worth your time and money. Improved presets and more advanced color grading tools would help it compete with professional alternatives, but as it stands, it’s a capable and accessible option for portrait photographers who don’t need a full professional feature set.
More reading: My Editing Workflow for Portraits Shot in Harsh Direct Sunlight